Maintaining the cleanliness of your Cornelius Quest Elite 4 FL Dispenser is essential for ensuring reliable performance, hygiene, and long-term equipment durability. In commercial beverage environments and fluid dispensing systems, regular cleaning helps prevent buildup, contamination, and mechanical issues that may affect dispensing accuracy.
For any doubt & Query write us at: sales3@natronequipments.com
Whether the dispenser is used in restaurants, beverage service stations, or other professional environments, routine cleaning helps keep the system operating efficiently and extends the life of its internal components.
Why Cleaning the Cornelius Quest Elite 4 FL Dispenser Is Important?
Regular cleaning of the dispenser helps to:
- Prevent blockages and residue buildup
- Maintain smooth and consistent fluid flow
- Reduce the risk of contamination
- Extend the lifespan of internal components
- Ensure accurate and reliable dispensing
If the dispenser handles beverages, syrups, oils, chemicals, or other specialty fluids, proper cleaning becomes even more important to maintain system hygiene and performance.
Highly Recommended: https://www.natronequipments.com/soft-drink-industry/cornellius-quest-elite-4-fl-dispenser-parts
Tools and Materials You Will Need
Before starting the cleaning process, prepare the following materials:
- Warm water
- Mild, non-corrosive detergent
- Soft cleaning brush or detailing brush
- Microfiber cloth
- Compressed air (optional)
- Protective gloves
- Clean drying towel
Always turn off and disconnect the dispenser from the power source before cleaning to ensure safety.
Step-by-Step Cleaning Process
Step 1: Power Down and Disconnect
Begin by shutting down the dispenser completely.
- Turn off the unit.
- Disconnect it from the power supply.
- Release any internal pressure if the system is pressurized.
Ensuring the equipment is fully powered down helps prevent accidents and protects internal components during cleaning.
Step 2: Disassemble Removable Parts
Carefully remove the components that require cleaning, including:
- Nozzle
- Fluid lines (if detachable)
- Filters
- Reservoir or tank
- Seals and gaskets
Place all parts on a clean surface to prevent contamination during the cleaning process.
Step 3: Rinse with Warm Water
Rinse all removable parts under warm running water to remove loose residue. Avoid using extremely hot water, as it may damage seals, gaskets, or plastic components. If residue buildup is present, allow the parts to soak in warm water for 10–15 minutes to loosen deposits.
Step 4: Clean with Mild Detergent
Prepare a cleaning solution using warm water and a mild detergent. Use a soft brush to gently clean internal and external surfaces. Pay special attention to areas where residue commonly builds up, such as:
- Nozzle openings
- Fluid channels
- Filter screens
Avoid using abrasive cleaners or metal brushes, as they can damage internal surfaces.
Step 5: Inspect Components for Wear or Damage
While cleaning, inspect all components carefully for signs of wear, including:
- Cracks or damage in the nozzle
- Worn or deteriorated seals
- Loose fittings
- Clogged filters
Any damaged components should be replaced immediately to prevent leaks, contamination, or equipment malfunction.
Step 6: Rinse Thoroughly
After cleaning, rinse all parts thoroughly with clean water to remove any remaining detergent. Residual soap can contaminate fluids during future dispensing cycles, so it is important that all cleaning solution is completely removed.
Step 7: Dry All Components Completely
Dry the components using a microfiber cloth or clean towel. Compressed air can be used to remove moisture from small openings, filters, and fluid channels. Allow the parts to air dry completely before reassembling the dispenser. Moisture left inside the system can lead to corrosion, contamination, or bacterial growth.
Step 8: Reassemble the Dispenser
Once all parts are dry, carefully reassemble the dispenser.
- Reinstall seals and gaskets correctly.
- Secure fittings properly without over-tightening.
- Reconnect the power supply.
- Run a small test cycle to ensure proper flow.
Check the system for leaks, irregular flow, or unusual noises before returning the unit to regular operation.
Pro Maintenance Tips
Following a few additional maintenance practices can help keep your dispenser operating efficiently:
- Avoid using harsh chemicals unless approved by the manufacturer.
- Store the unit in a clean, dry environment.
- Replace filters regularly to maintain proper flow.
- Avoid dispensing fluids that are too thick or incompatible with the system.
- Keep spare seals, filters, and nozzles available for quick replacement.
Common Cleaning Mistakes to Avoid
Avoid these common mistakes when cleaning the dispenser:
- Reassembling the system before parts are fully dry
- Using abrasive brushes or harsh chemicals
- Ignoring worn or damaged seals
- Over-tightening fittings during reassembly
- Attempting to clean the unit while it is powered on
Preventing these issues helps maintain both safety and equipment reliability.
Must Visit to explore more: https://www.natronequipments.com/
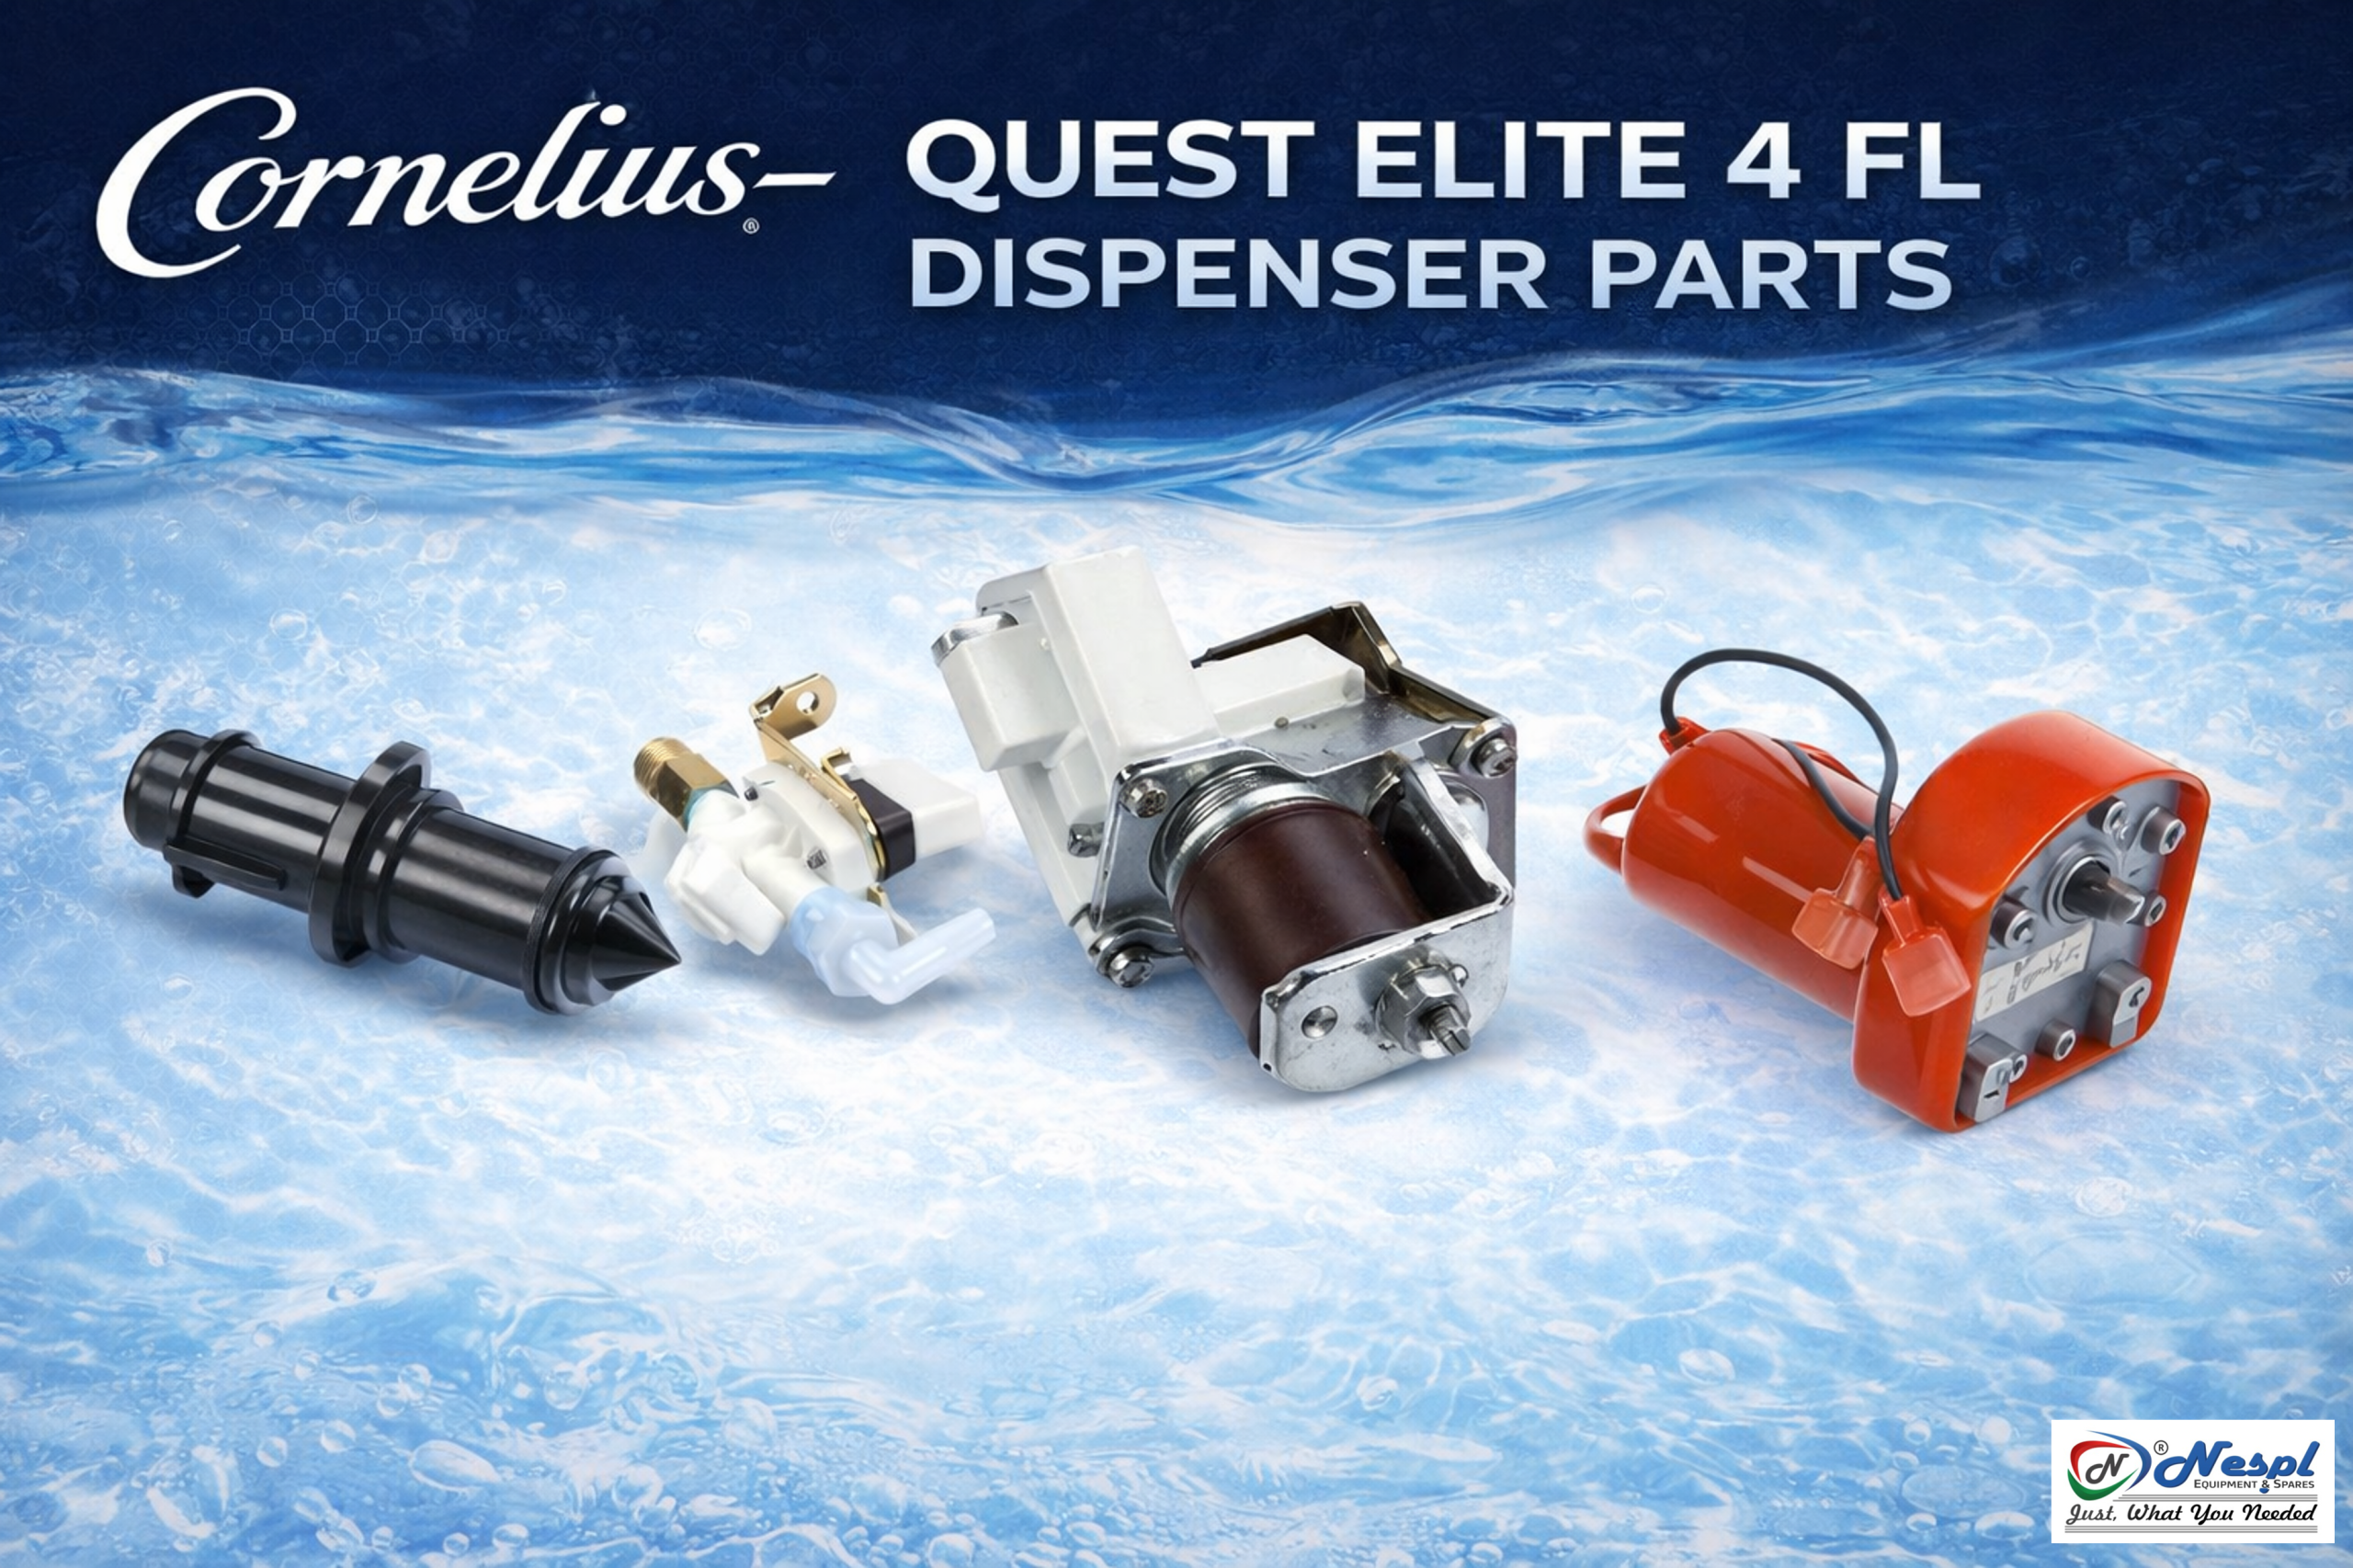
Buy Replacement Parts from a Trusted and Authorised Cornelius Supplier
For maintenance and replacement components for the Cornelius Quest Elite 4 FL Dispenser, it is important to source parts from a reliable supplier. NESPL is the official and reliable supplier of Cornelius.
We supply a range of beverage dispensing components and system parts used in commercial environments. By sourcing genuine and compatible components through NESPL, businesses can ensure dependable product quality, consistent availability, and proper system performance.
Having access to reliable replacement parts helps reduce downtime and supports long-term equipment maintenance.
Conclusion
Proper cleaning and maintenance of your Cornelius Quest Elite 4 FL Dispenser is essential for maintaining hygiene, ensuring consistent fluid flow, and extending the lifespan of the equipment.
By following this step-by-step cleaning guide, operators can prevent blockages, reduce contamination risks, and keep the dispenser functioning efficiently.
Regular maintenance, combined with high-quality replacement parts sourced through trusted suppliers like NESPL, helps ensure your dispensing system continues to operate safely, reliably, and efficiently for years to come.